Sample Scenario #
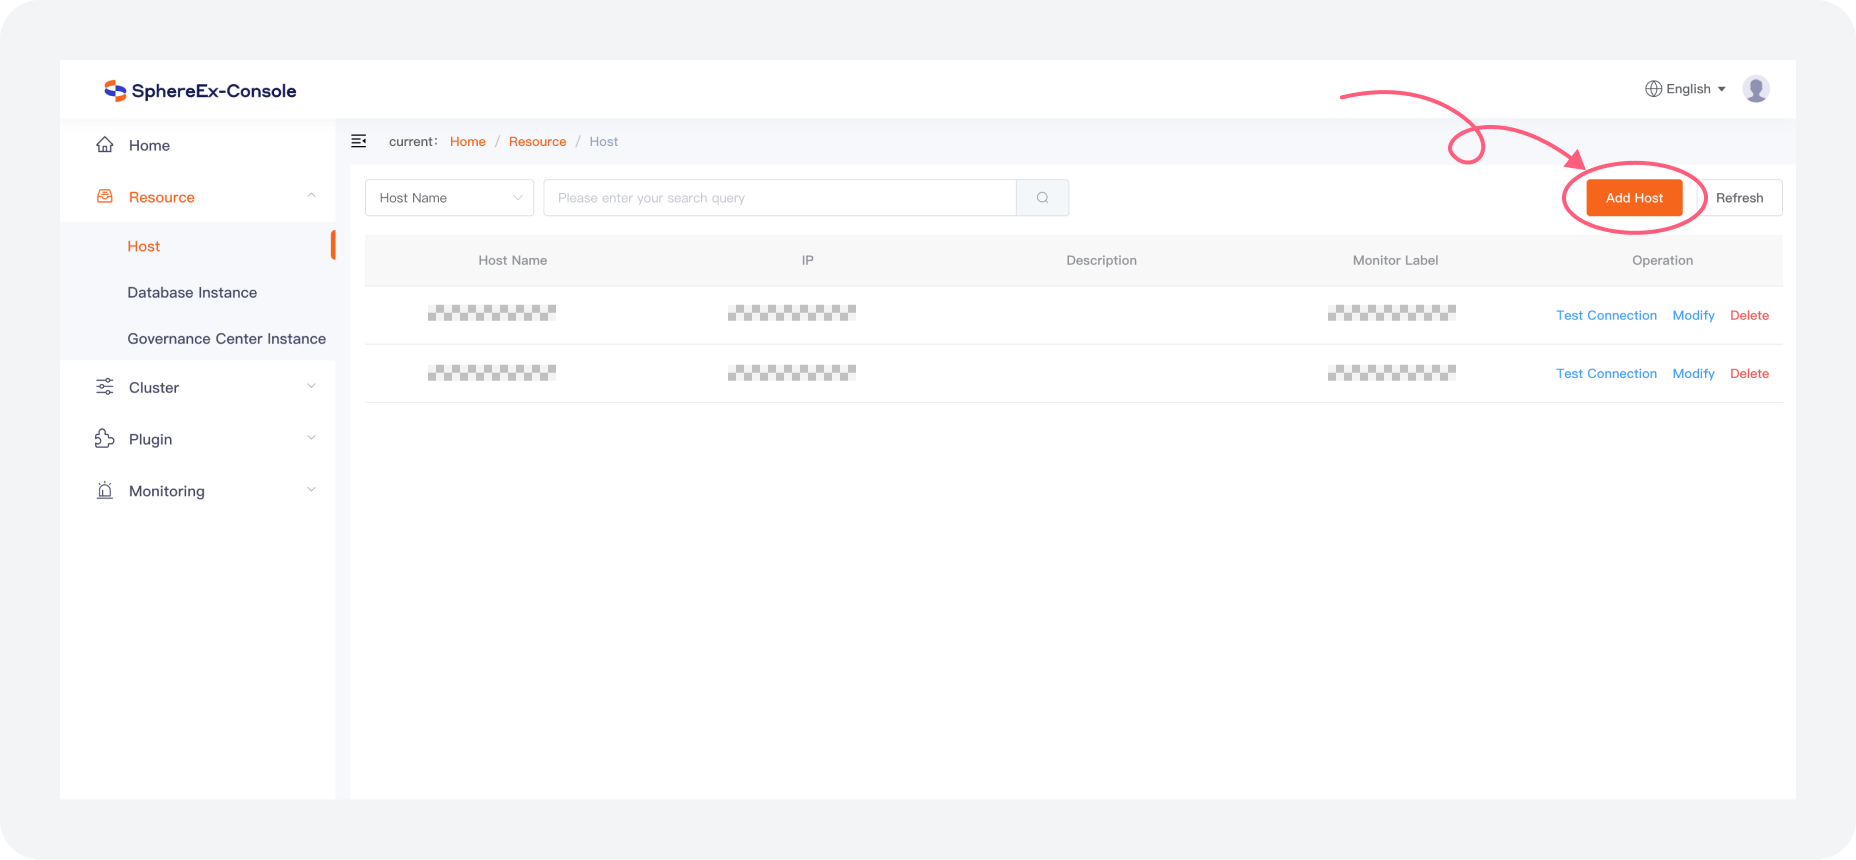
Add host.
a. Choose Resource > Host and click Add Host.
b. Enter host data in the pop-up interface.
c. Click OK to add new host information.
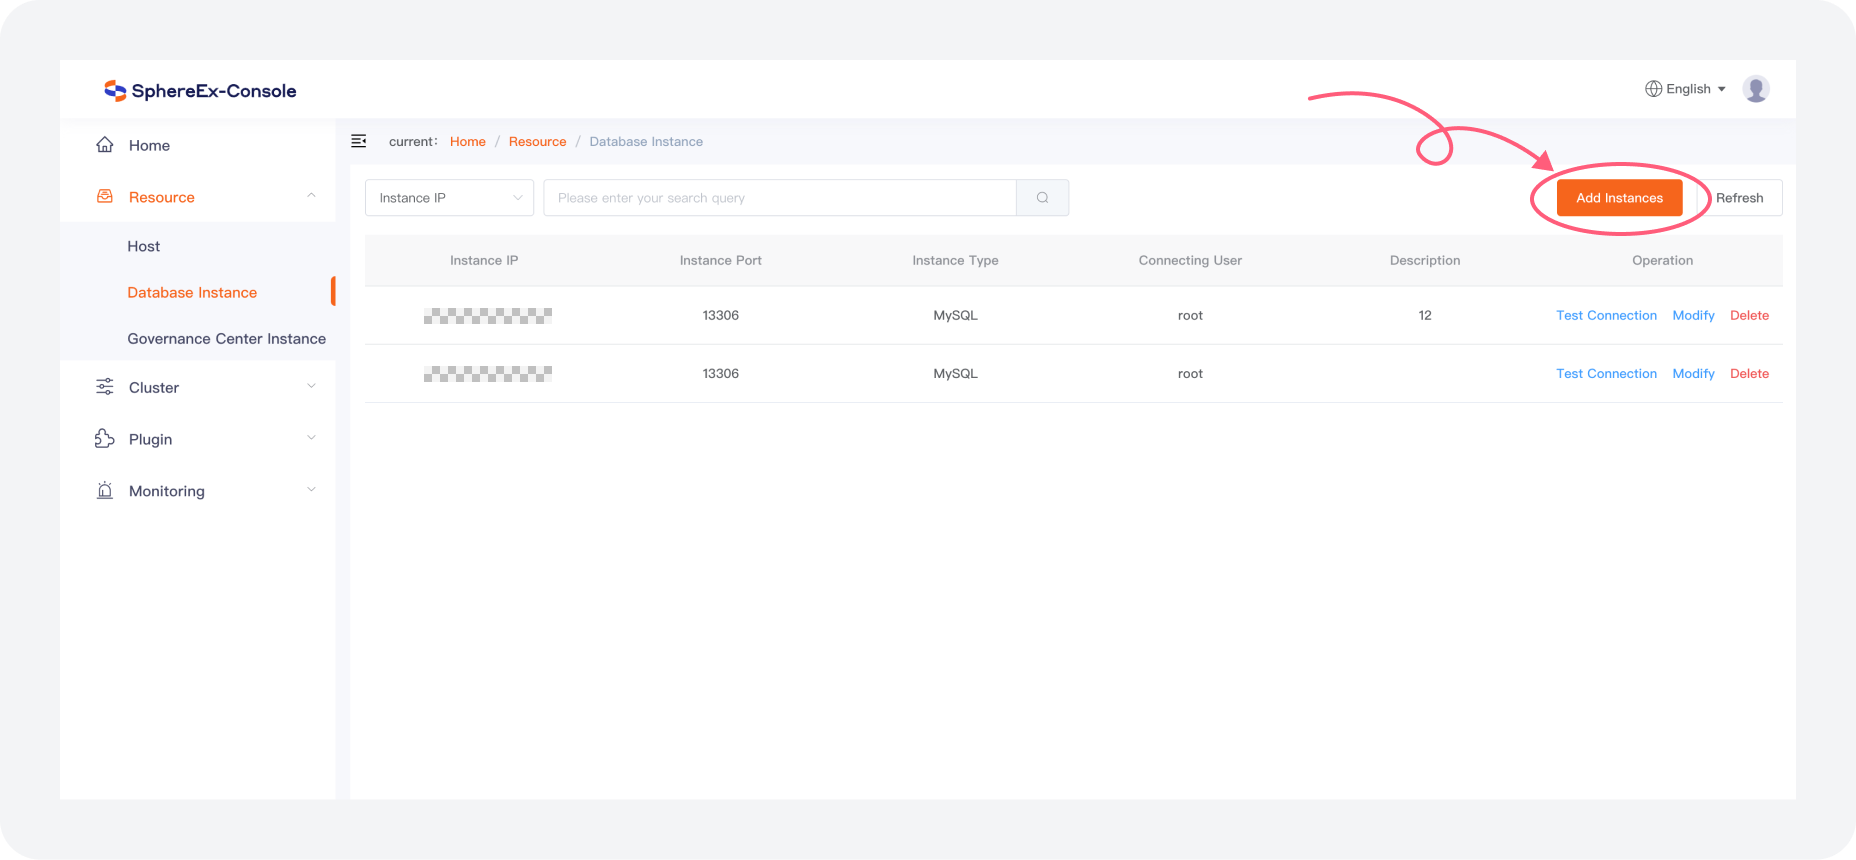
Add database instances.
a. Choose Resource > Database Instance and click Add Instances.
b. Enter the corresponding data in the pop-up interface, such as IP: 127.0.0.1, port: 3306, type: MySQL, connected user: root, password: 123456.
c. After clicking OK, the corresponding registration data will be added to the database instance list.
d. Click Test Connection to test whether the database instance can be successfully connected.
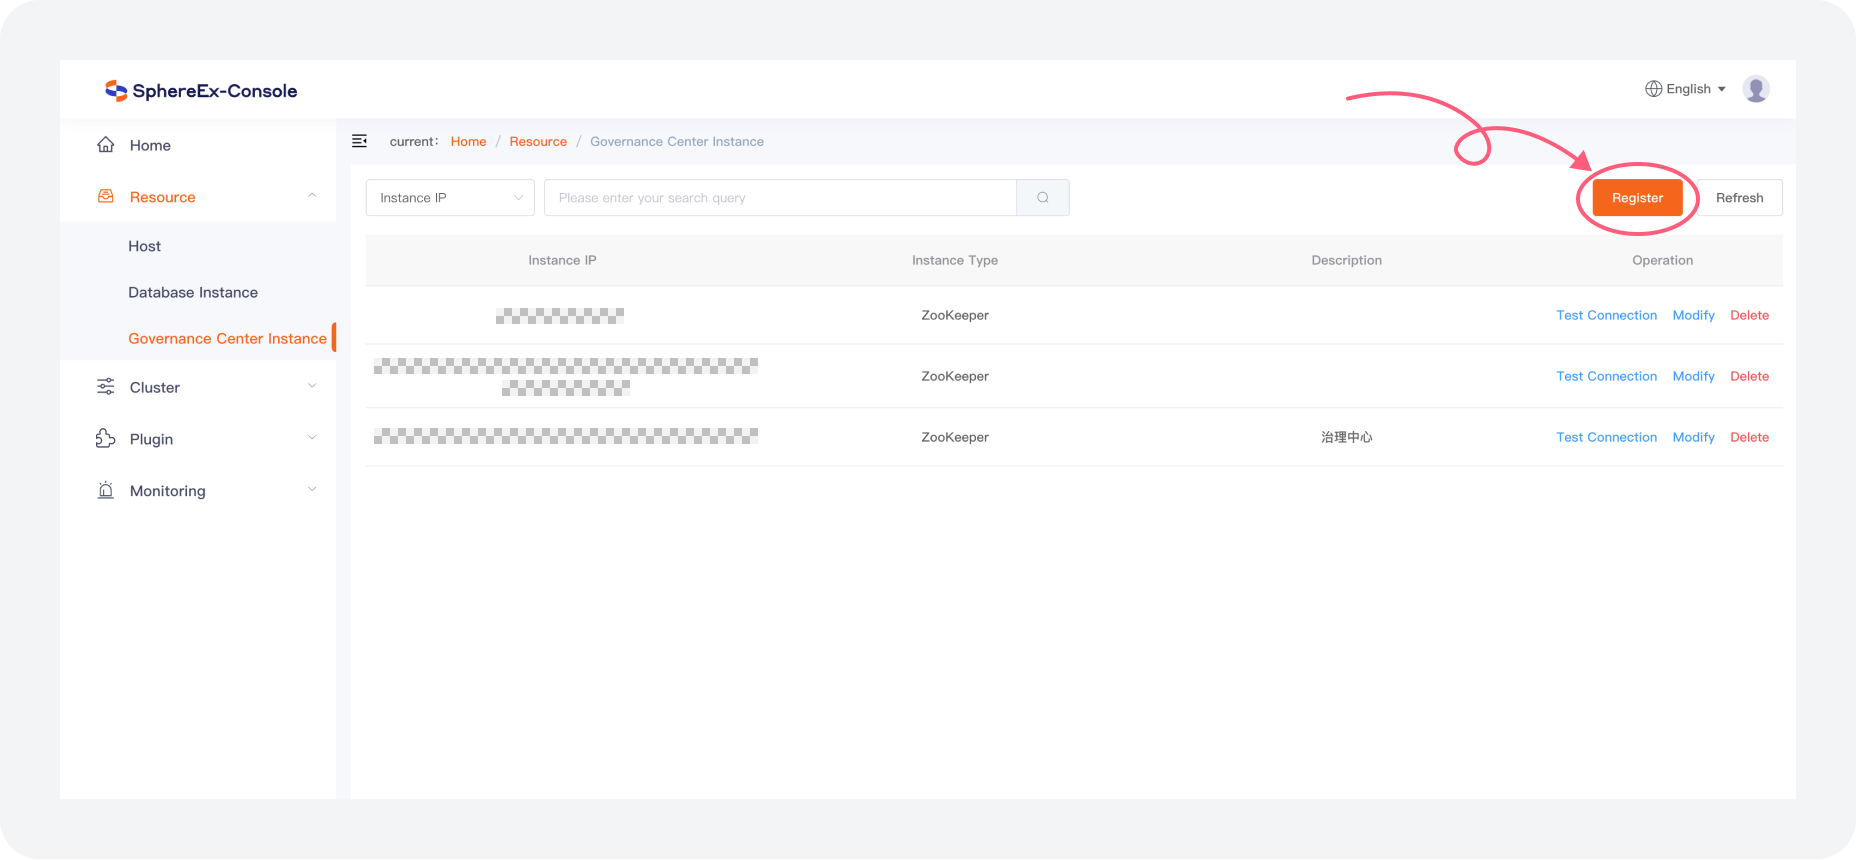
Register governance instance.
a. Choose Resource > Governance Center Instance and click Register。
b. Enter the corresponding data in the pop-up interface, such as IP: 127.0.0.1:2181, 127.0.0.1:2182, 127.0.0.1:2183; Instance description: the governance center of xxx business.
c. After clicking OK, the corresponding registration data will be added to the governance instance list.
d. Click Test Connection to test whether the governance instance can be successfully connected.
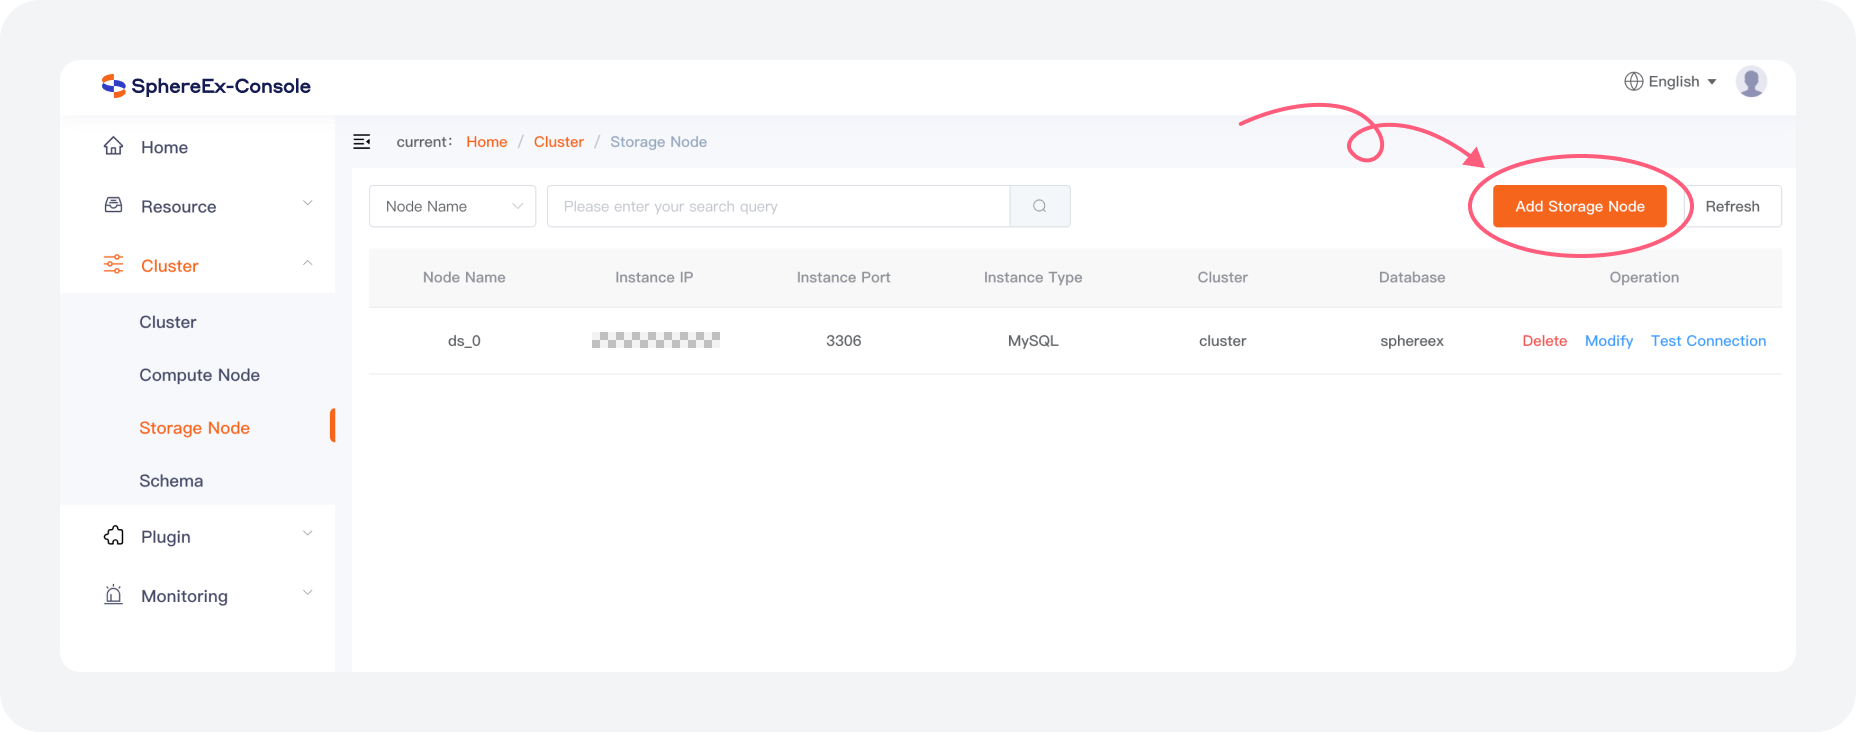
Add storage node.
a. Choose Cluster > Storage Node, and click Add Storage Node.
b. In the pop-up interface, enter the relevant information of the corresponding storage node.
c. Click OK to add storage node data.
d. Click Test Connection to test whether the storage node can be successfully connected.
Nanotube cluster.
a. Choose Cluster > Cluster, and click Nanotube Cluster.
b. In the pop-up interface, enter the relevant information of the corresponding cluster.
c. Click OK to add a cluster. The information of compute node, schema and storage node will be refreshed to the corresponding place.
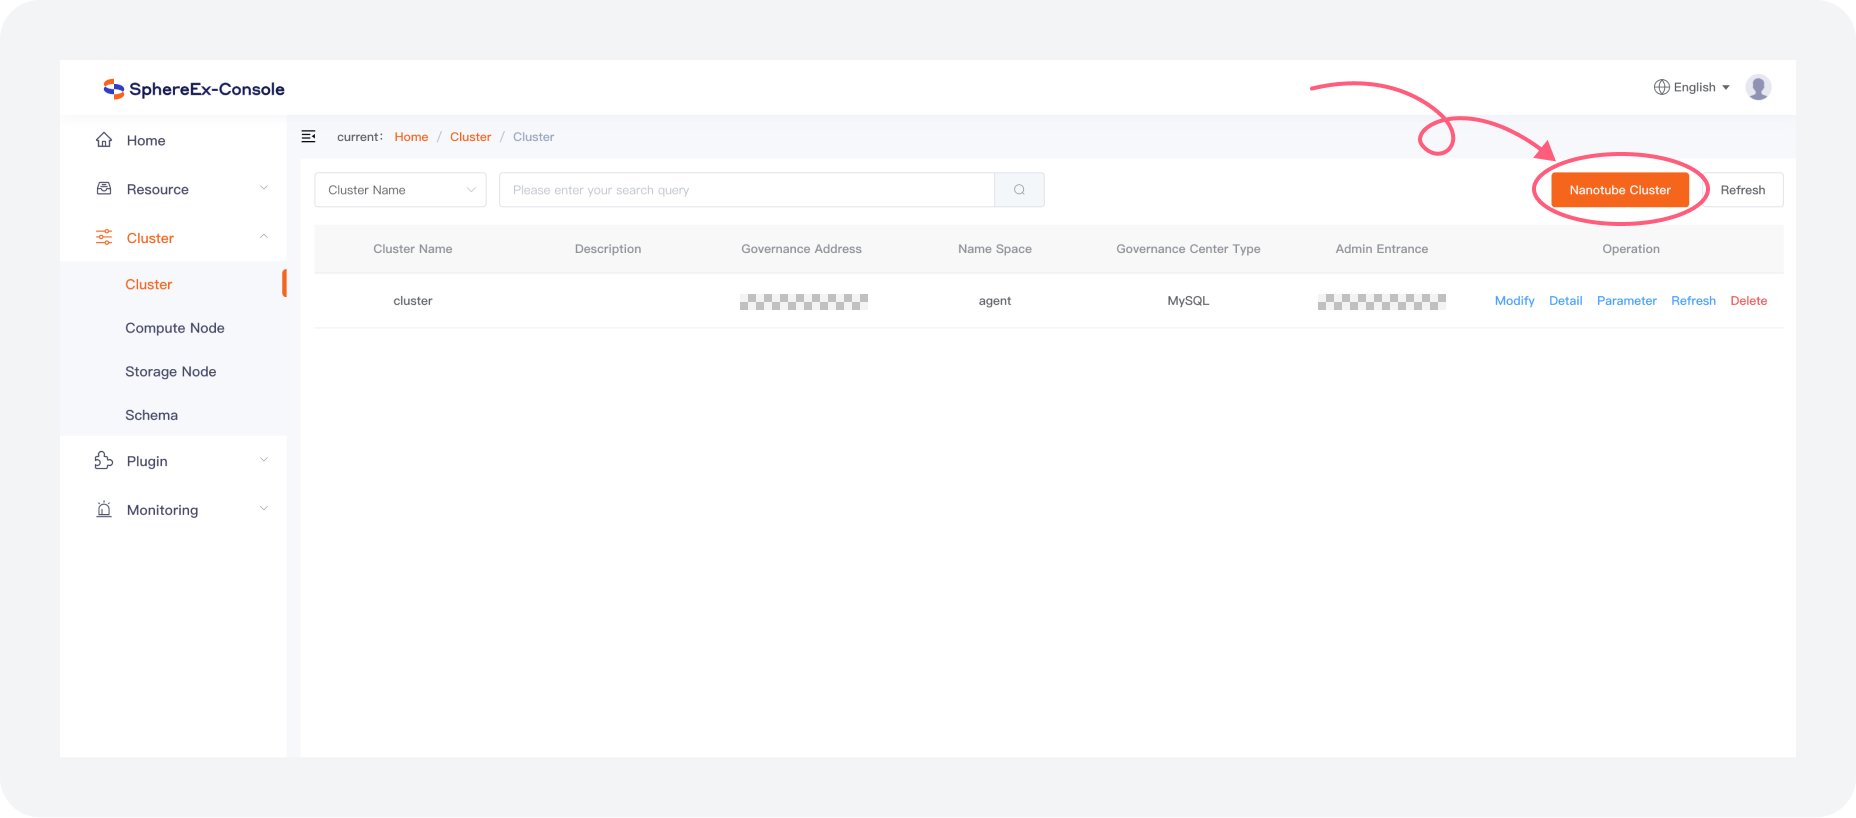
d. After configuration, you can click the Detail button to view the relevant information of compute nodes, storage nodes and logical databases in the cluster.
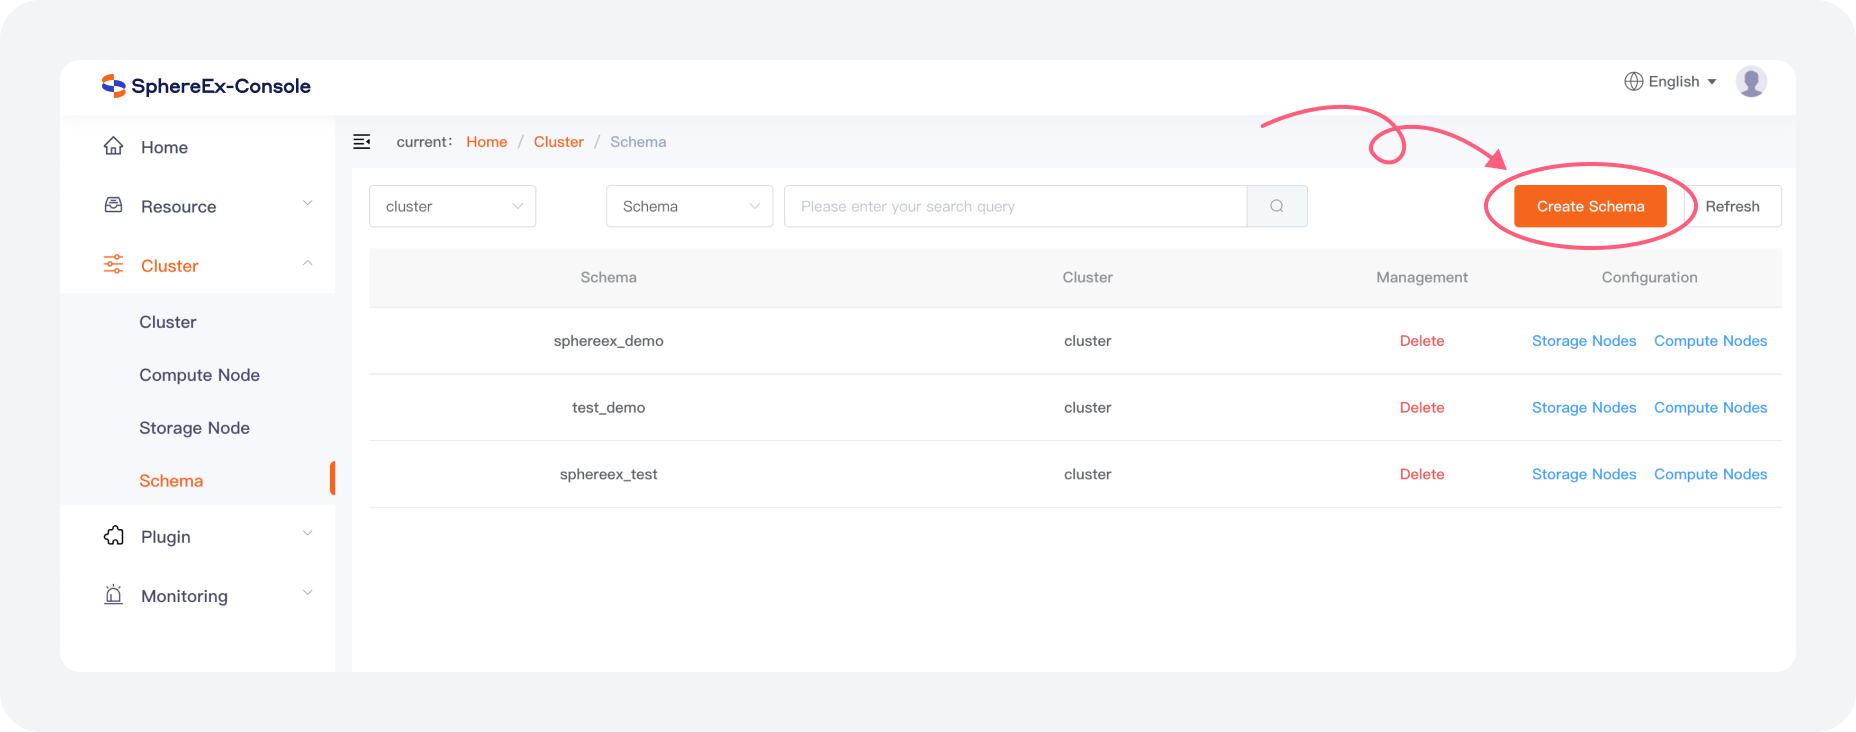
Create a logical database.
a. Choose Cluster > Schema, and click Create Schema.
b. In the pop-up interface, enter the name of the logical database and select the storage node required by the logical database. Note: All compute nodes are selected and cannot be modified.
c. Click storage node and compute node to view the storage node and compute node information applied to the logical database respectively.
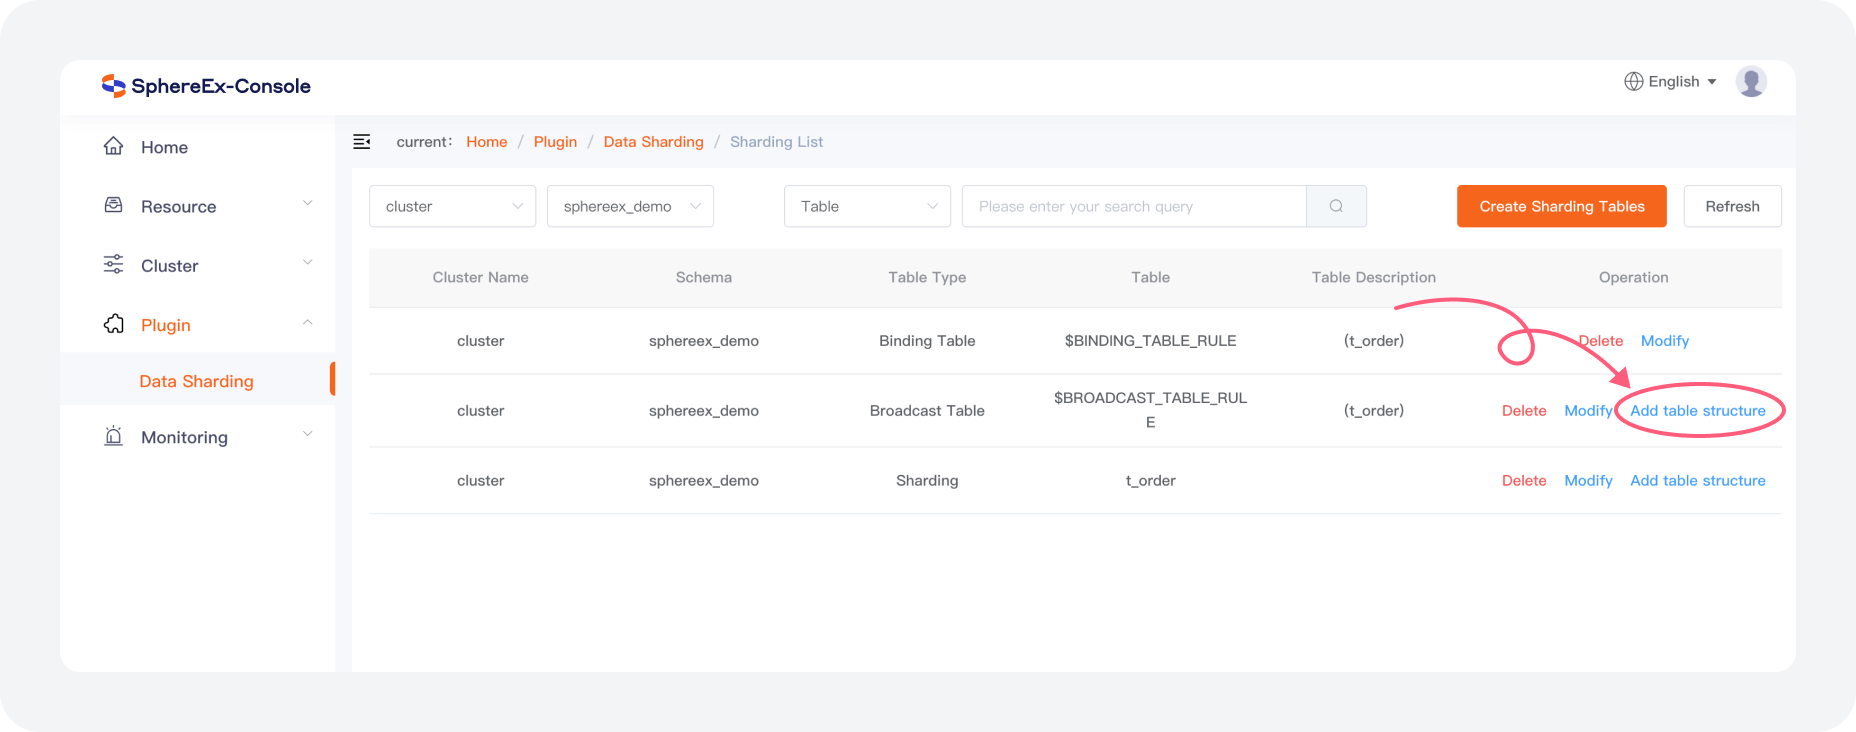
Plugin - Data Sharding
a. In the Plugin > Data Sharding menu, data sharding is currently available, and more plugin features will be added and supported in the future.
b. After selecting the corresponding cluster and the corresponding logical database under the cluster, click Create Sharding Tables to create sharding table, broadcast table and single table using DistSQL under the corresponding logical database.
c. After creation, you can also use DistSQL to modify table rules.

d. After creating the sharding rule, you can click Add table structure to create the actual database table using the normal table creation statement.